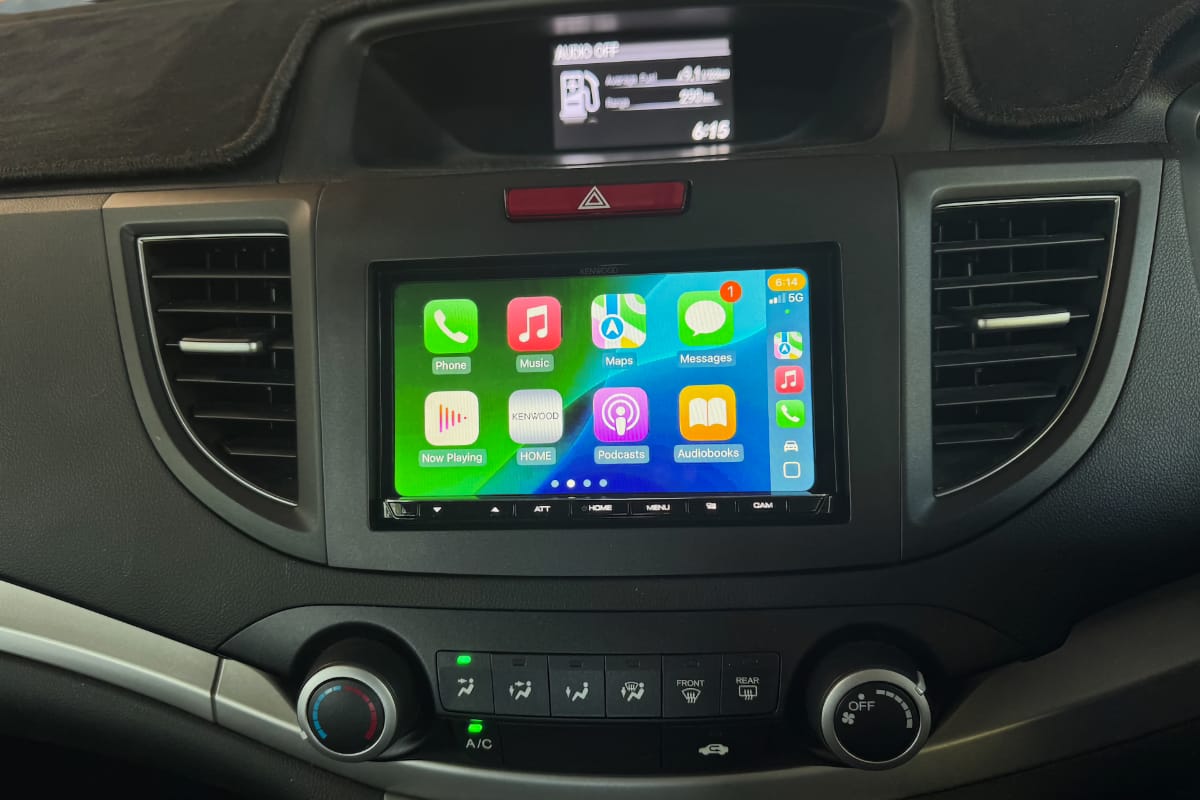
Recently I installed a new head unit into a 2013 Honda CRV. The following is a quick overview on the steps I undertook to help anyone that may also want to do the same. This isn’t a complete step by step guide, but some high level pointers that might make the process easier for someone else down the line complemented with some videos I found useful.
(Continue reading…)Logrotation is a handy Linux tool to help automate log cleanup based on customisable retention periods.
(Continue reading…)In my previous MinIO guides I have gone through setting up MinIO, enabling an external credential provider, adding replication, and using Prometheus for advanced reporting. All this was done with a publicly accessible MinIO web interface. Having gone through all this however, I then decided to put MinIO behind a Tailscale VPN to further secure my data.
I’ve recently begun using Tailscale for my remote access, and given every system I use with MinIO is part of my Tailscale, I figured that leveraging the VPN could only improve my security.
(Continue reading…)The following guide will cover the steps required to get MinIO Monitoring working with Prometheus to extend the amount of reporting data for your instance.
This guide assumes that MinIO is deployed via Docker, and we will use docker to deploy new Prometheus instances per MinIO site. For information on setting MinIO up initially see my previous MinIO guides.
For this guide we will be using token (called Bearer Token) based authentication to the MinIO reporting. The process can be drastically simplified by making monitoring data publicly available, but that won’t be covered in detail here. As per previous guides, I will also look to minimise (avoid) use of the root user, with a dedicated monitoring user and permissions to be configured.
(Continue reading…)Since setting up MinIO I’ve been keen to take a stab at setting up site to site replication. Right now I use MinIO for backups, so replication is not hugely necessary as MinIO based storage is only one of multiple layers of redundancy I have, but it was an interesting academic exercise.
This guide will be a bit lighter touch than the guides Configuring MinIO Part 1 (Docker with Nginx Reverse Proxy) and Part 2 (OpenID Connect) that I previously published. The majority of legwork in getting replication going is repeating build covered in those guides. Enabling replication largely just requires linking a second built instance of MinIO up to the first. There are some things to watch out for however.
(Continue reading…)On the weekend while updating my UnRaid server, the system failed to POST following a reboot. CPU fans would spin up at power on, but there was no video signal, USB peripherals (keyboard) being supplied power or hard drive spin-up. My particular Gigabyte board, an older Z170n-WiFi, has previously had issues with my RAM (Patriot Viper Steel DDR4 32GB (2x16GB) 3200MHz PC4-25600) that required some manual OS tweaking and it appeared my old settings had been lost. Looking online other people have had similar issues. Here’s what worked for me.
(Continue reading…)For a while I’ve been intending to set up a second ‘send only’ mail service for this site to handle my automated notifications and status messages. I had been using a different TLD thus far, but wanted to have a [email protected] style email going out. I was keen to not use my primary email accounts for these notices. Leveraging a second mail delivery service turned out to be pretty easy.
The following is how to do this with your primary domain, and without resorting to subdomains. The intention is to be sending email in such a way that it has a high likelihood of reaching its destination, which means not just spoofing the address, and leveraging SPF and DKIM, to reduce the likelihood mail is treated as spam.
(Continue reading…)A key driver for me blogging these tech guides is to allow me to recall things down the lane that I may need to do again. I’m using the blog as the platform to do that instead of say a bookmarks manager, in case it’s of interest to anyone else. This one’s a short and sweet set of steps required to install Docker Compose. Well documented and very standard stuff, but for some reason I’ve come across needlessly convoluted instructions a few time in the past, especially for Compose.
(Continue reading…)I’ve been keen to give Nextcloud a spin after hearing the products name come up quite often in discussions concerning open source solutions that people find to be absolute game changers. For those unaware, Nextcloud is a platform not unlike Google Workspace or O365, and allows admin to make various productivity tools available such as email or calendar clients, file management, and document editing. Being self hosted, it’s a way to break away from the big players in the space and deploy a solution where you solely own the data. I haven’t used Nextcloud enough to say whether it is actually worth your time or something I can replace those other commercial suites with, but did feel compelled to document the steps required to set the product up.
In this guide I’ll be deploying Nextcloud using the All-In-One (AIO) install method, which is a newer docker based approach that is presented nowadays as the recommended means to install Nextcloud. Direct install to the OS is still available. Nextcloud is being setup to be externally accessible and not just limited to a local network.
Along with the installation of Nextcloud, I’ll be looking at the steps taken to secure aspects of the administrative interface. The AIO installer will install Nextcloud itself as well as an Admin UI for managing containers etc that I believe to be unique to this deployment method. It’s this secondary interface that many recommend not be published to the internet (it allows changing of some low level stuff), however it was a bit of a struggle to find information on how to achieve this in a manner where the frontend could be accessed from anywhere and the backend on demand without relaxing firewalls constantly. I ultimately added a Wireguard VPN to the setup and then restricted the admin UI to access via the VPN. I’ll go over that here.
(Continue reading…)Chances are you’ll know your VPS IPv4 address if your plan has one as your provider will email it to you on signup and it’ll feature prominently in your accounts control panel. Identifying your servers IPv6 address can be a bit more involved, but necessary if you’d like to configure an AAAA record for your domain’s DNS to allow connectivity by IPv6.
The quick answer is to run the following command and then select the output on ETH0 (or ETHn), with a ‘global’ scope that is valid (valid_lft) ‘forever’.
Baship -6 aThe above command, while filtering out those without the correct scope or validity period, will get you the IPv6 address for public access.
(Continue reading…)


